They should draw a design or find an image that they want to use (Make sure that lines are thick enough to transfer easily onto the Printing Block.) and trace it on vellum tracing paper, flip the tracing paper over and redraw it so that the image is reversed. Next, to transfer the drawing to the printing block, students Lay down a good area of black pencil on the front side of the paper by scribbling hard on it with an Ebony pencil.
Students can darken the design on the Printing Block if necessary with a pen or sharpie before carving.
The teacher demonstrates how to use carving tools. Safety is of vital importance. Always cut away from your fingers and hands.
Students use a brayer to roll out ink and transfer it to their block for printing. Paper is put over the block and burnished with a spoon onto the block.

Evaluation:
2 points -- Quality and interest of the design
4 points -- Quality of the woodcut
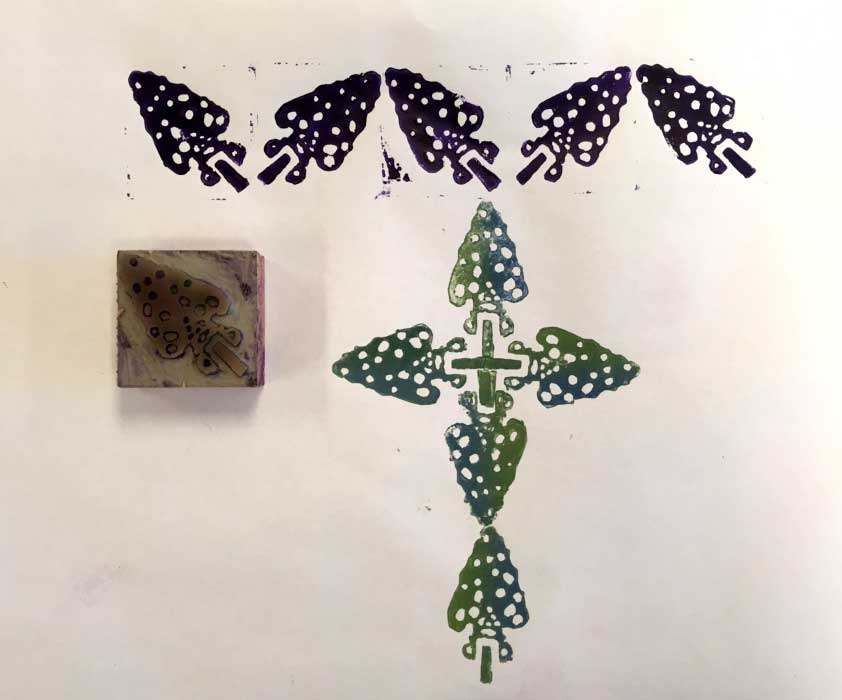
2 points -- 5 or more single-color prints made
2 points -- 5 or more two-color prints are made
10 points total
Local vid
Another vid about using SoftKut in a two color print process can be found by clicking here.
Simon M.'s print below.
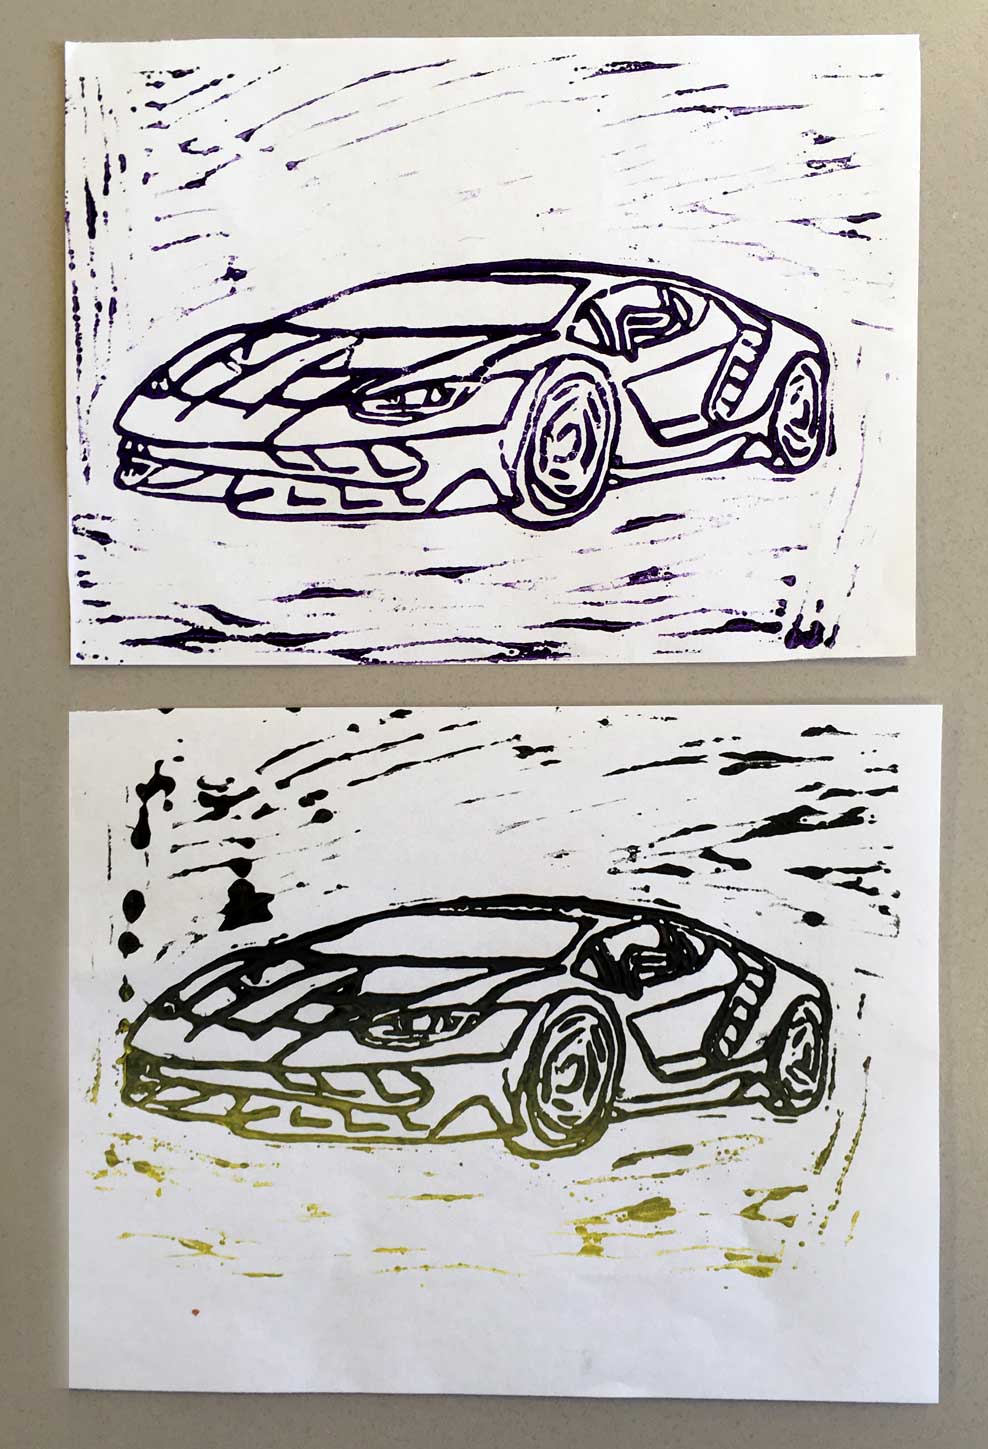
Michael D.'s print below.