Cutting Out the Background

"COB"ing

"COBing" describes the act of Cutting Out the Background (COB) of a photo.

The teacher demonstrates good and bad "COB-ing" techniques in class using various tools. Rough Instructions can be found below:


  • 1. Open your image and unlock the layer.

  • 2. Crop the image as tight to the subject as possible. (Example here)

  • 3. Use the Selection Brush to create a rudimentary selection around your background or the subject. (If you selected the background be sure to go up to Select on the menu bar and click "Invert Pixel Selection" to select the subject instead of the background.) Be sure to have a relatively good selection before going to step 4.

  • 4. With the Selection Brush still active, click the "Refine" button in the options bar. Change the Adjustment Brush size appropriately for your subject and paint over fur or hair areas that need refining then click the "Apply" button. (Example here)

  • 5. Copy and paste the subject to place it on a new layer. Deselect if you still have an active selection.

  • 6. Make a new layer and fill that layer with black or white, and drag that layer under the pasted subject's layer to see how well you've selected the subject. (example here)

  • 7. (optional) To save with a transparent background, click all layers off except the subject's layer. Then select "File > Export". Click the PNG tab and make sure the preset is "PNG-24 (with transparency)". (example here)

  • 8. Find a large image or use one from your phone and paste your selected person/character into the new image, adjusting the size/position so he/she fits the background image.


    Click here for good and bad COBing examples.

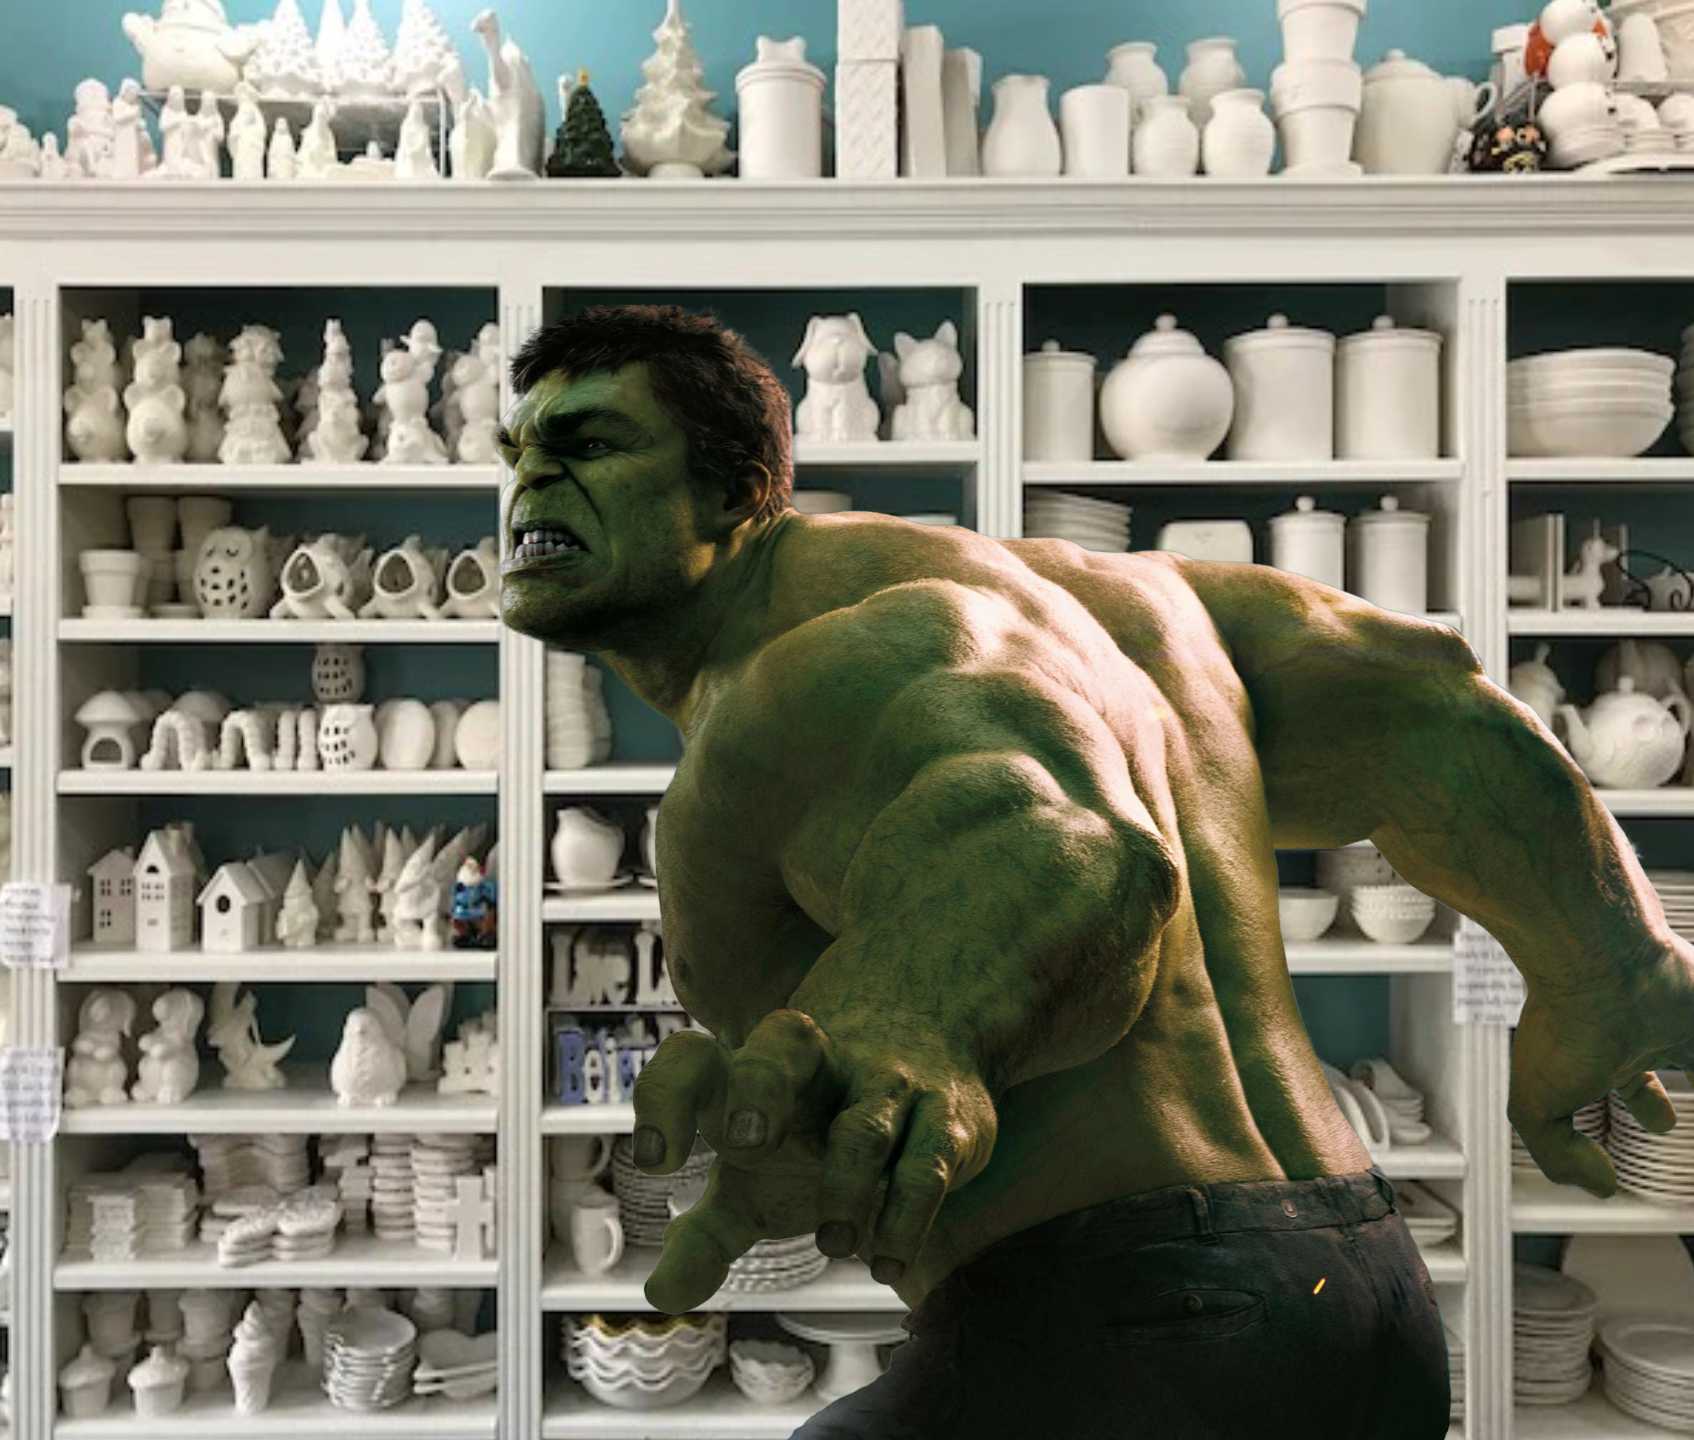
    Students are to download one of the images below, (click the image to download the large version) remove the background, and place the character in a new background. Humorous situations are encouraged.

    Save as a layered Affinity Photo file.

    Click the image and download the large version


    Evaluation:
    4 points -- Quality of finished composite photo
    4 points -- Clean natural masking/cutting
    2 points -- Followed directions, saved as a Affinity Photo file with all layers showing
    10 Points total.


    Image below by Thomas T.
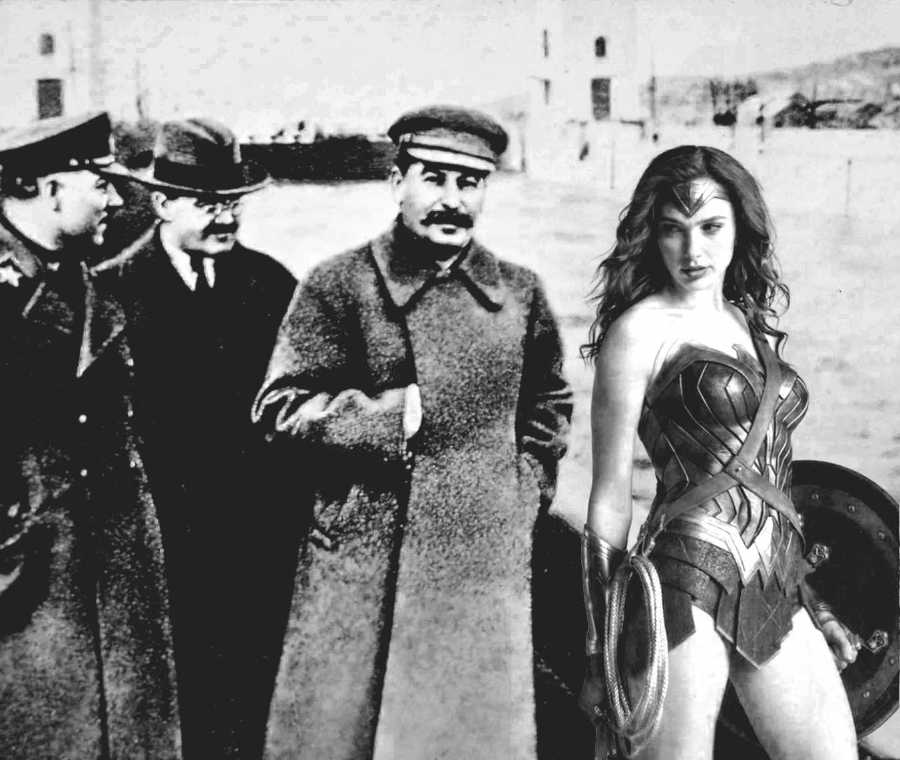
    Image below by Abi K.
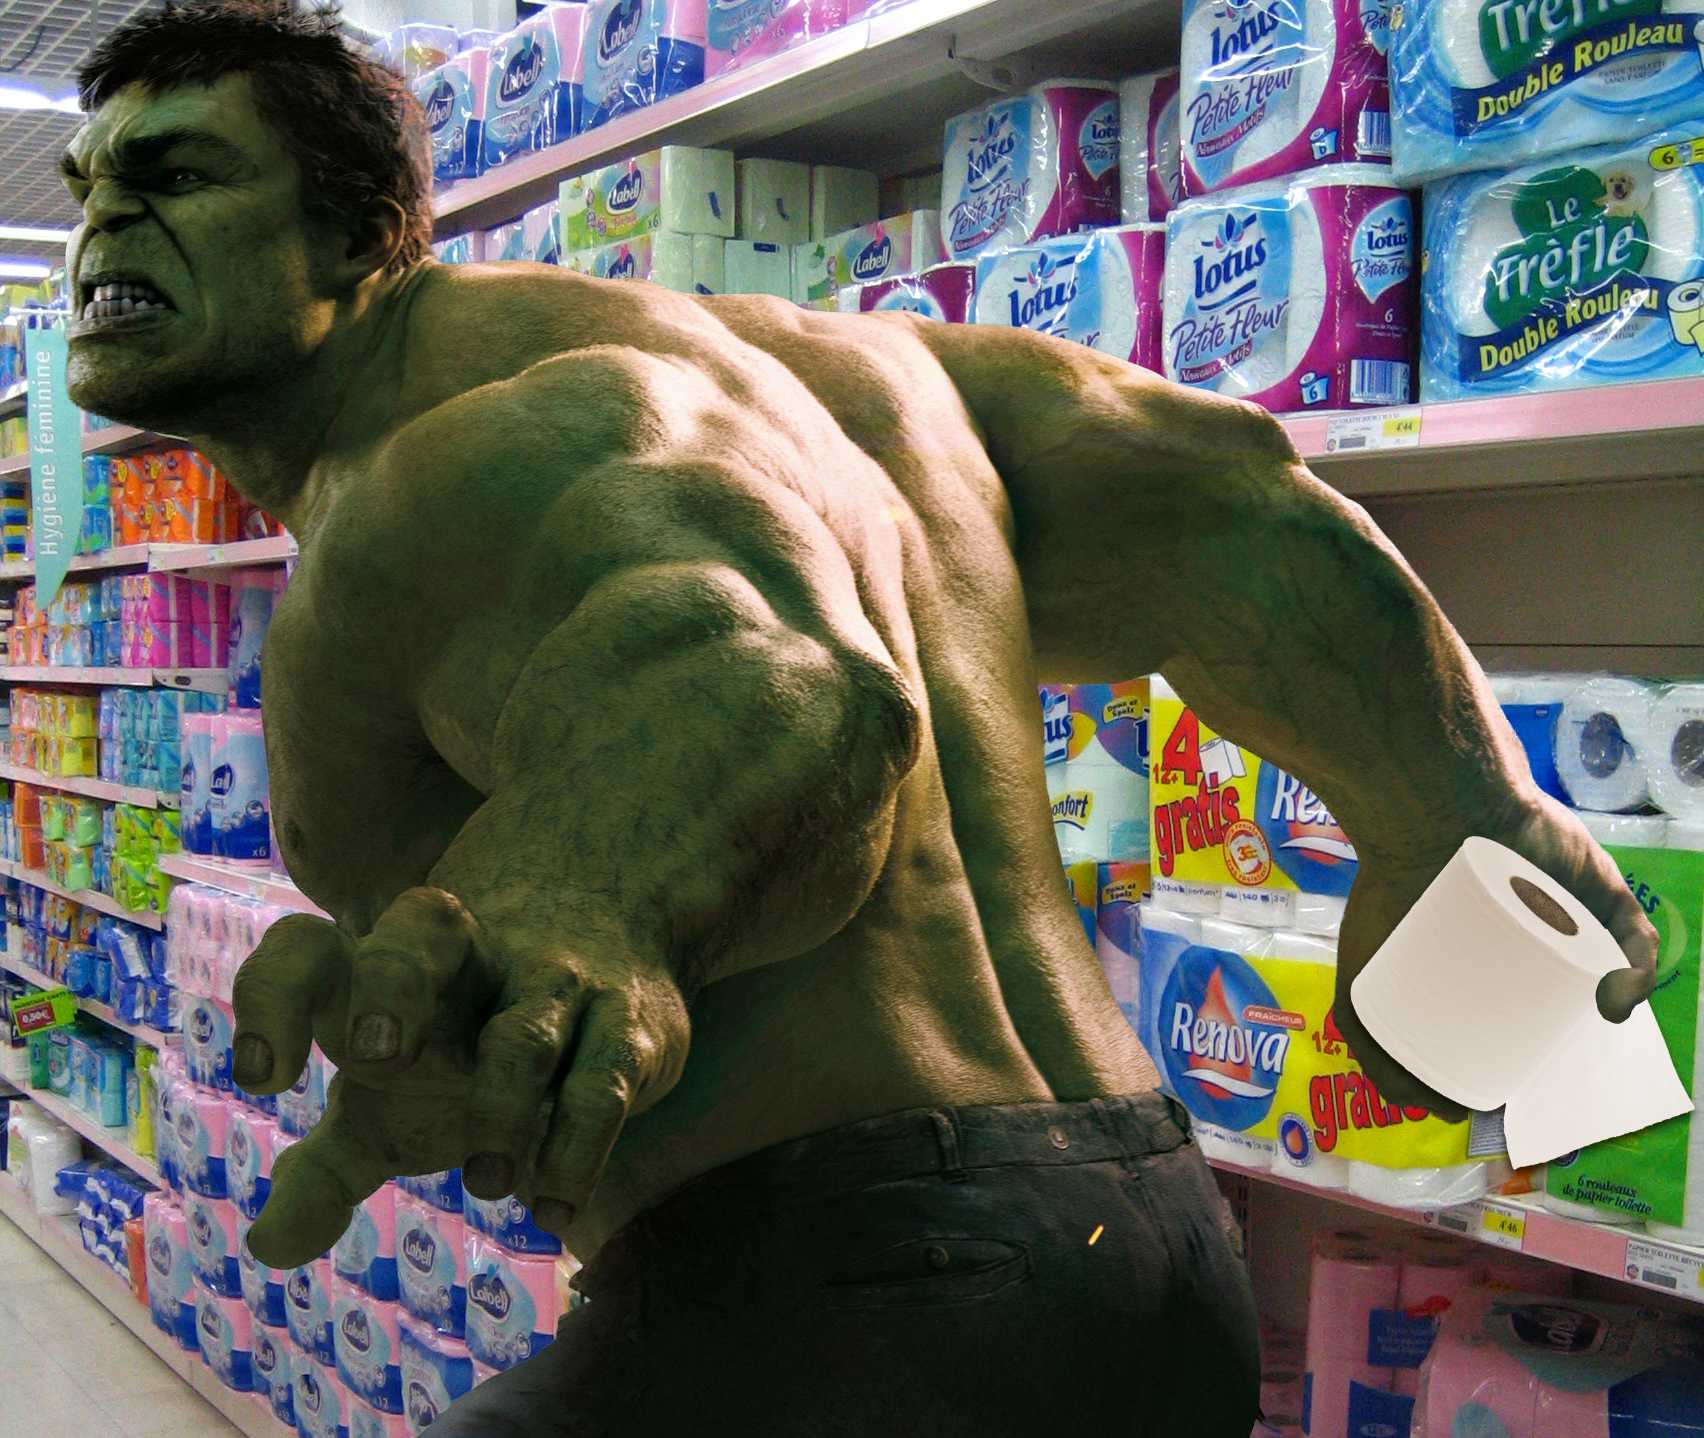
    Image below by Aiden L.


    Image below by Justin B.

  • Ethan example for class.

    Back to top