Students must first create a shape that can be molded with a simple two part mold. Only undercuts that can be separated into two parts are allowed to be used. Things like a tool handle, sculpted face, custom keychain tab, and toys (army men, game pieces, airplanes, etc.) are good ideas.
Next, students should make the two halves of the injection mold, imbed their shape into each part halfway and make it a negative shape or "hole", cutting into each side of the mold.
Students must consider how the hot plastic will flow into and around the molded part to fill the entire mold cavity and must consider the thickness of specific parts so as not to create "unfillable" areas.
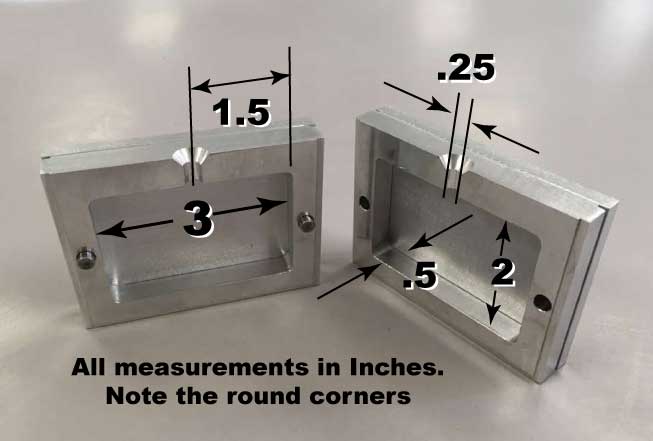
The students' injection mold must fit inside our injection mold blank and align with the fill hole. Below are the specific measurements: (click the image to bring up a larger view) Note corner radius is 1/4 inch.
Vital considerations:
Students' work will be printed to proof the fit of each part.
Evaluation:
2 point -- No unmoldable undercuts
4 points -- Mold and sprue line fits our blank
4 points -- Complexity (don't make it too simple)
10 points -- Successfully set up in preform, printed and 3 injections made.
ALWAYS spray Mold Release into mold before injecting!
20 points total
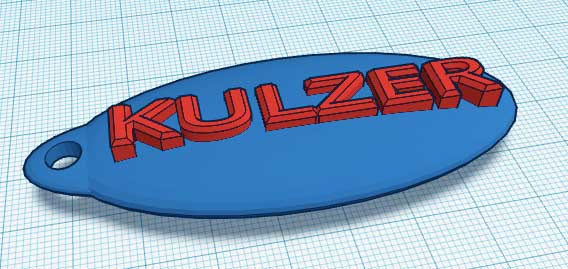
Original part (Keychain)
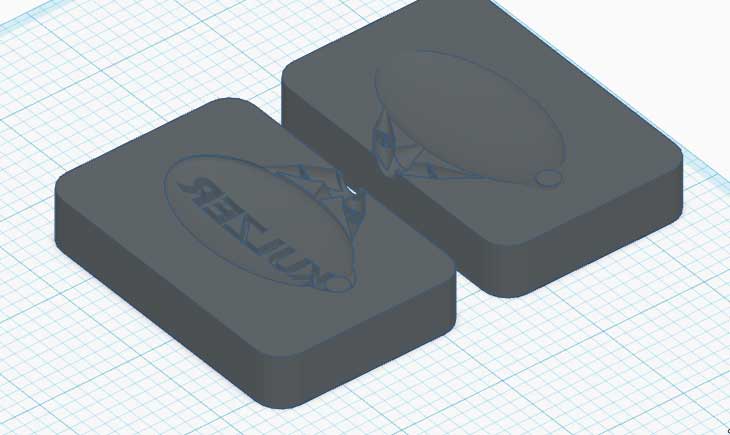
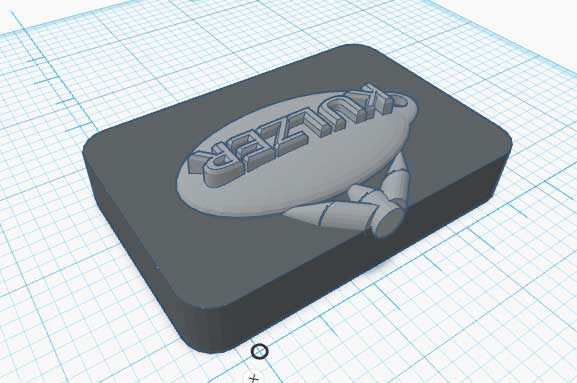
Part with sprue, runners and gates added imbedded into mold block.
Part cavity in mold block