

The following day, after the plaster has dried, the teacher demonstrates how to use dish soap as a release agent on the plaster, wall up the piece again and pour the second half of the mold. (Illustration 2)
Students are to pour slip into their mold, let it set and pour out the remaining slip. After sufficient drying, the mold can be opened and the seams "chased" or cleaned.
Illustration 1 below
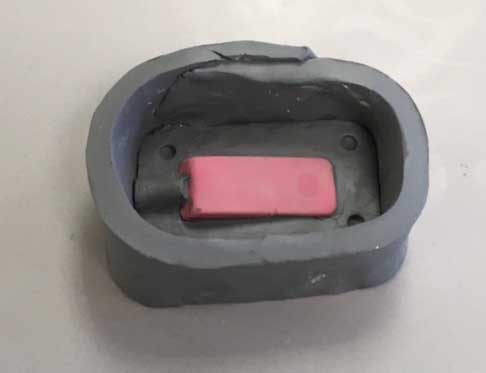
Illustration 2 below shows the first half of the plaster mold. This needs to be coated with dish soap, walled up, and poured to form the second part of the mold. Note the funnel shape on the right used as a "fill hole".
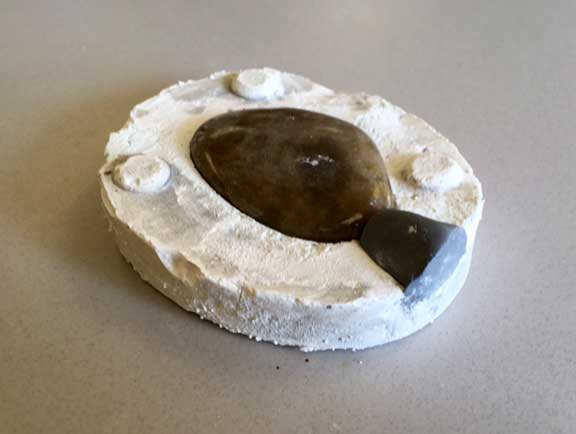
The mold and casts below were done by Simon M.
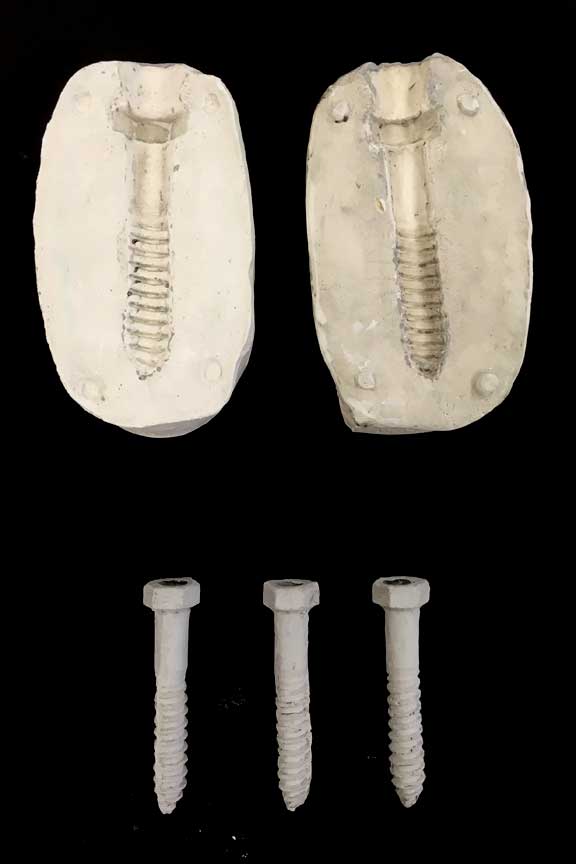
Illustration 2 below shows the first half of the plaster mold. This needs to be coated with dish soap, walled up, and poured to form the second part of the mold. Note the funnel shape on the right used as a "fill hole".
The mold and casts below were done by Simon M.
Evaluation:
1 point -- No larger than 2X2X2 inches
2 point -- Well made Prototype or well chosen object.
4 points -- 2-part mold made with a proper seam and registration marks
3 points -- 3 casts made with Minimal bubbles and distortion
10 points total
.