Helicopter
Back to Lego Construction Basics
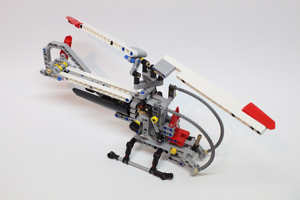
Using only pieces from 45560 (EV3 Expansion set) a Helicopter can be builtIt includes: Rotating main and tail rotor controlled by a knob on the side, and Blade Pitch controlled by a lever in the cockpit.

Using the instructions below, try building the Helicopter.
If something is not clear, please ask MR. Kulzer.

2

3

4

5

6
#12 black axle used below.

7

8

9

10

11

12

13

14

15

16

17

18

19

20

21

22

23

24

25

26

27

28

29

30

31

32

33

34

35

35b

36

37

38

39

40

41

42

43

44

45

46

47
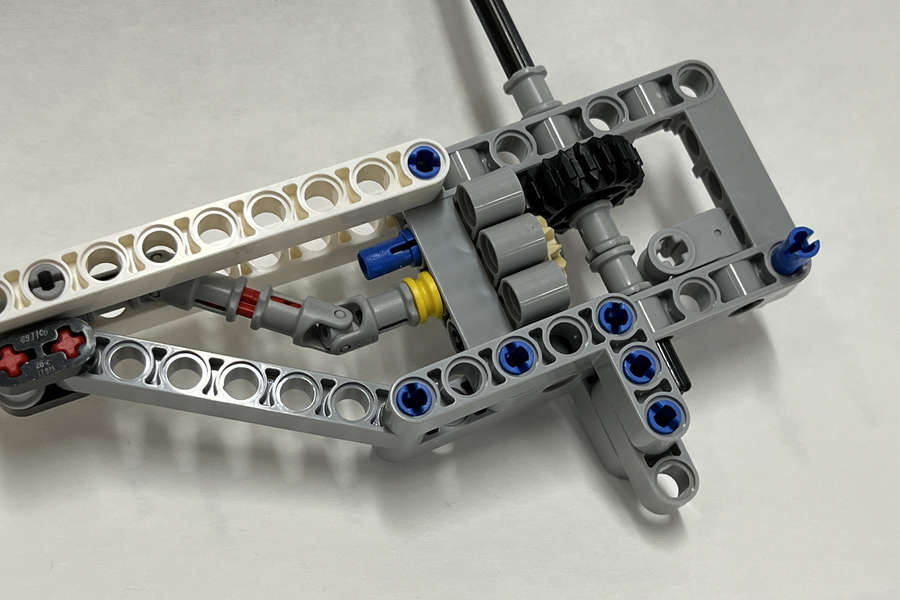
Note that the tan axel goes through the 4th hole from the left on the 3X5 elbow beam. Click here for an image .

48

49
#8 black axle used below.

50

50b

51

52

53

54

55

56

57

58

59

60

61

62

63

64

65

66

67

68

69

70

71

72

73

74

75

76

77

78

79

80

81

82

83

84

85

86

87

88
#9 axle on the left and two #7 axles on the right.

89

90

90b

91

92

93

94

95

96

97

98
When the assembly is in place, push the red #2 axles into place. (see image 100)

99

100

101

102
Note the space between the rotor and swash plate.

103

104

105

106

107

108

109

110

111

112

113

114

115

116

117

118

119

120

121

122

123

124

Back to top
