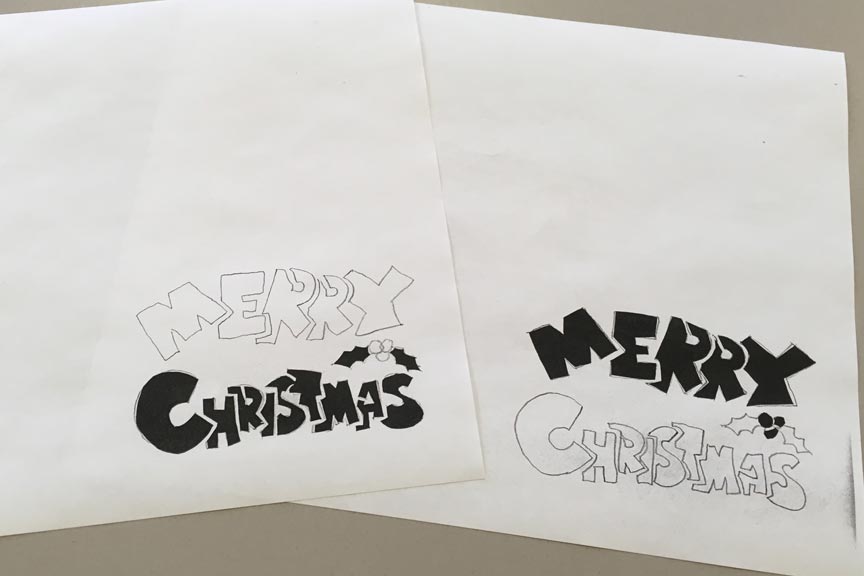
The teacher demonstrates how to make stencils for 2-color screen printing. The designs must be self-supporting with no "unattached" parts. (See illustration labeled #1 below) Each design must fit with the other and must be able to be "registered" so they both line up with eachother for printing.
Students are encouraged to shade in the design to help them visualize what parts to cut away. (See illustration 2)
Using X-acto knives, students cut out their design. If, after cutting, the paper stencil can be held up with no parts falling away, then the design is good.
The design is sparingly taped to the screen and the remaining screen is masked off. Paper is set under the screen and registered so each print will end up at the same spot on each print so that the second color print will easily align or register with the first color.
Evaluation:
2 points -- Quality and interest of the design
2 points -- Quality of the cut out stencil
3 points -- Single color print quality (Save one example of the first color.)
3 points -- Two color print quality (Turn in 5 or more two-color prints.)
10 points total
Initial design
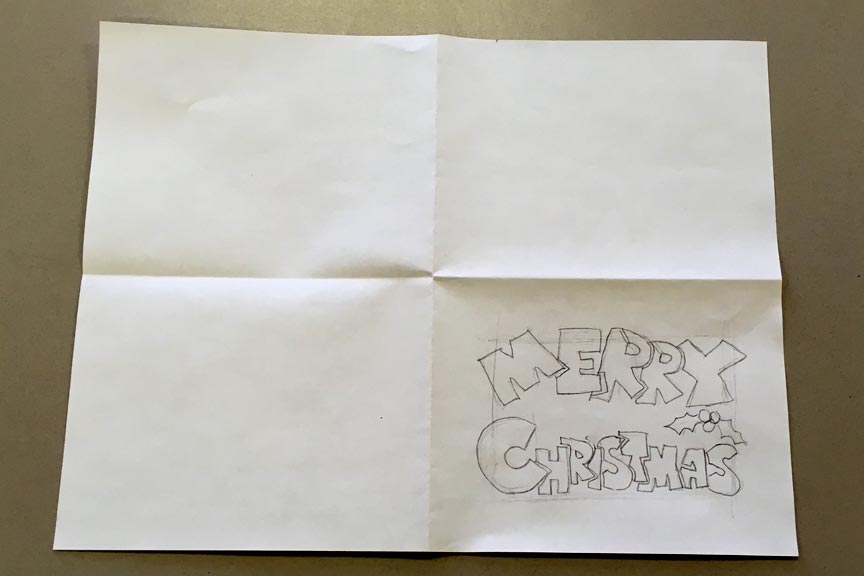
Design traced twice and cut out to form stencils for each color
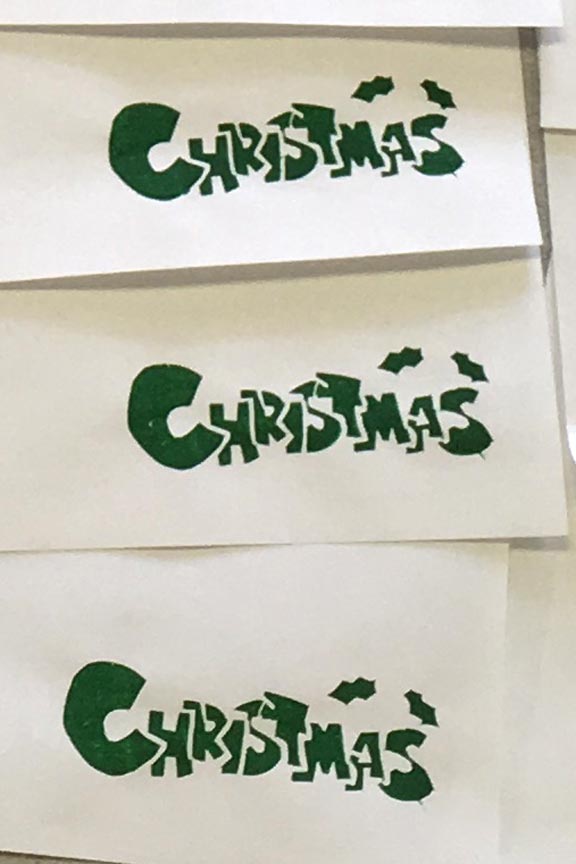
40+ green prints made. Click image for larger version and note the bad ones on the right side. Those were done first. If it doesn't work initially, make a few more to be sure and save the bad ones as test prints when you print the second color.
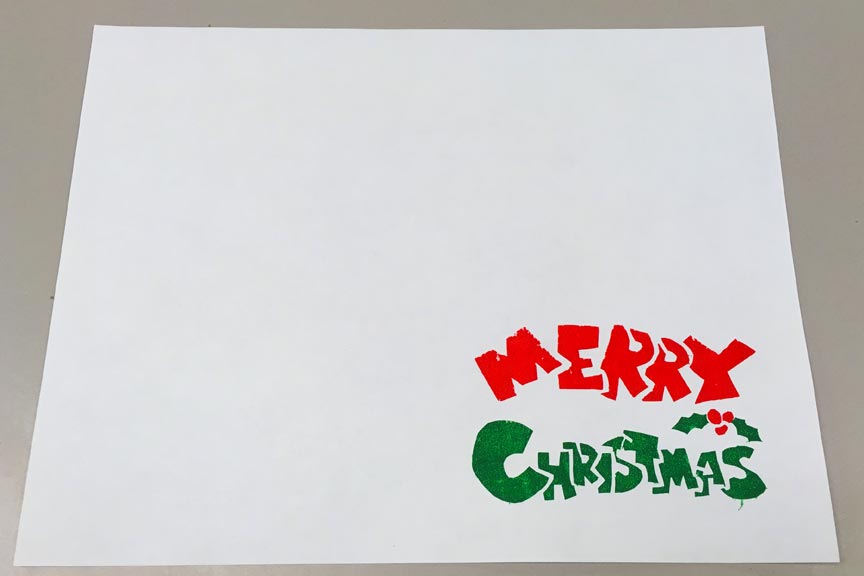
Second color added.
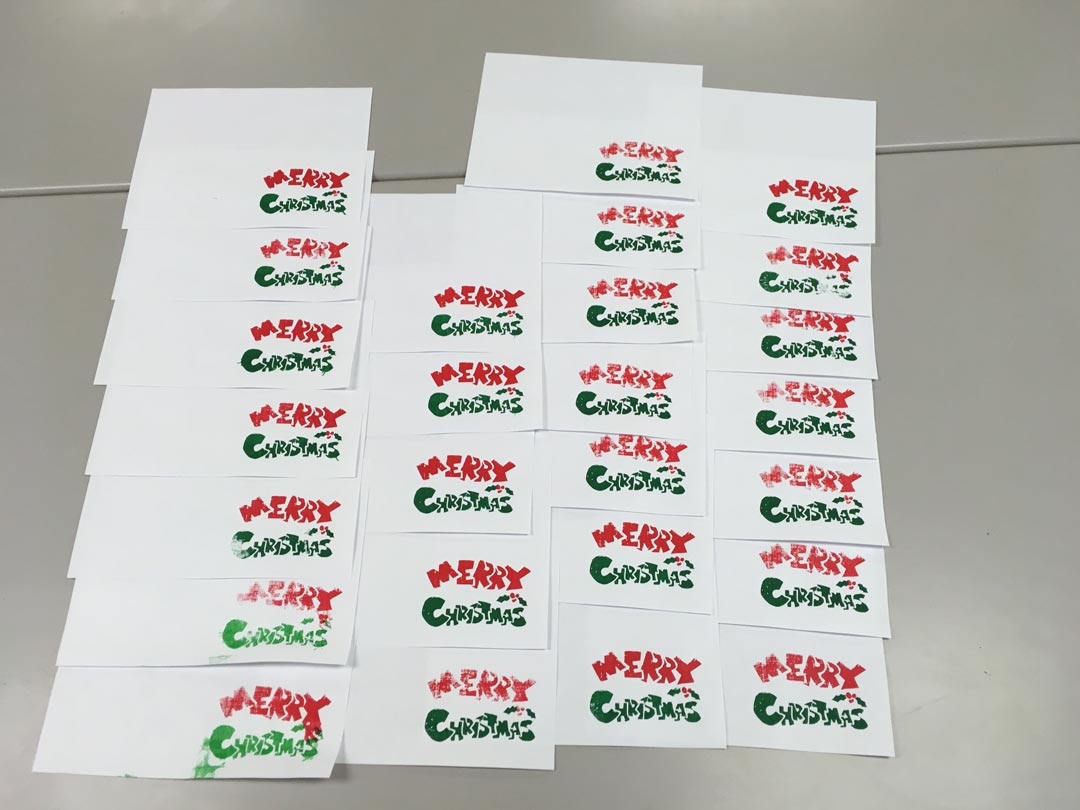
The first run of two color cards below:

Design traced twice and cut out to form stencils for each color

40+ green prints made. Click image for larger version and note the bad ones on the right side. Those were done first. If it doesn't work initially, make a few more to be sure and save the bad ones as test prints when you print the second color.

Second color added.

The first run of two color cards below:

Below is a another two color print made with separate stencils


