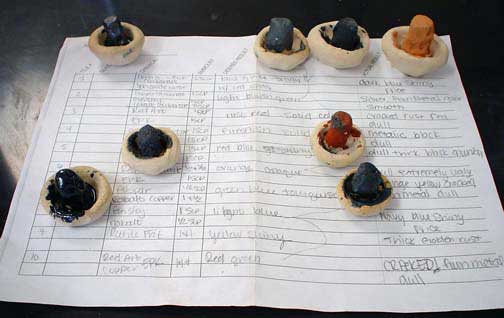
Prior to this discussion, students have made and fired 10 small glaze test cups that consist of a shaft attached to a small bowl. Each cup is numbered from 1 to 10 The glaze test cups resemble mushrooms with their stems pointing in the air.
Students mix minute batches of their desired materials and paint the materials on the stem. The design of the glaze test cups allows a glaze to be caught in the small cup if it turns out to be excessively runny. A chart is given for each student to write the number of the test cup, the ingredients used, and the amount of each ingredient used. In another space on the chart students write the desired or predicted characteristics of the glaze. Simply stating "blue" is not sufficient. A student must use the information presented in class and their notes (click here for the student notes handout.) to describe the glaze as accurately as possible. "A glossy, transparent blue" would be more acceptable. After the glaze firing, students will fill the last space on the chart with the actual results of their glaze mixture.
Evaluation:
One point is awarded for each glaze test cup based on how accurate the students' predicted results are. 10 points total

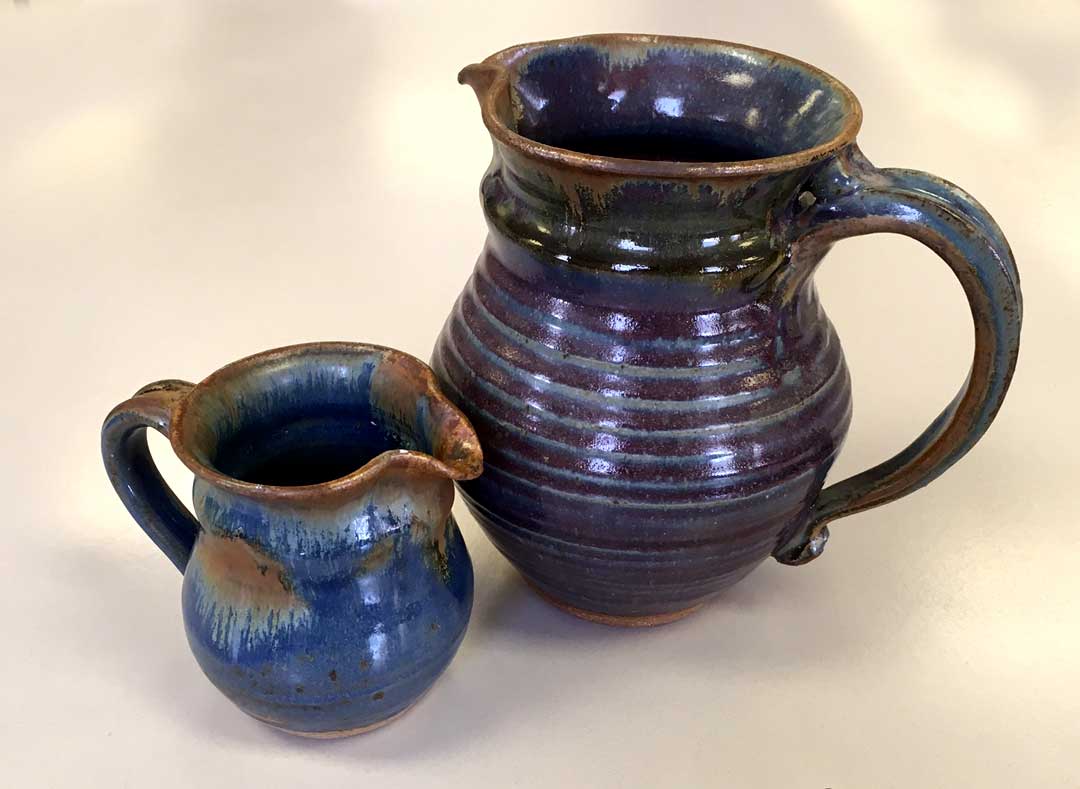
The image below illustrates how Iron can become a flux in a glaze. (click the image to bring up a larger version.) The rims of the pitchers were lined with a solution of iron oxide. Note how the glaze has run down more in that area than the glaze in other areas. This fluxing effect can also be seen in the iron splotch on the side of the small blue pot.
Also note the color difference. Both pitchers were fired with the same glaze. The large pitcher, however, was fired in a higher reduction atmosphere. Reduction atmospheres can cause changes in glaze and clay colors.


