
Creating Lightning in Photoshop
1. Make a new document, 8 inches by 8 inches
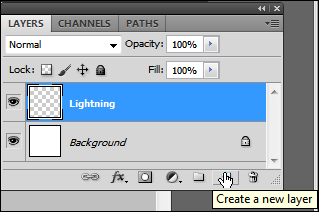
2. Make a new layer and name it Lightning
3. With the Gradient Tool paint the whole canvas with a vertical gradient from black to white

4. Next make sure you have selected black as foreground and white as background

5. Then choose Filter > Render > Difference Clouds. Feel free to undo and redo to get the lightning effect you want:
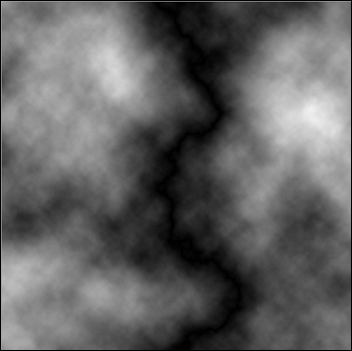
6. Notice the main black line through the middle. This will be your lightning bolt. But to isolate it, you first invert (Image > Adjustments > Invert (or Ctrl+I) it:
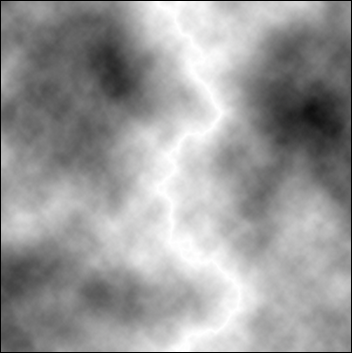
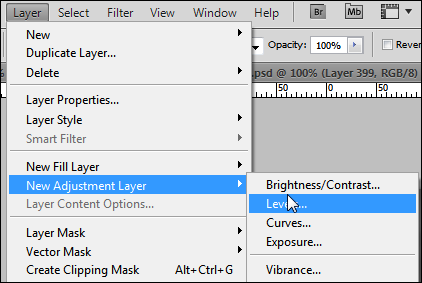
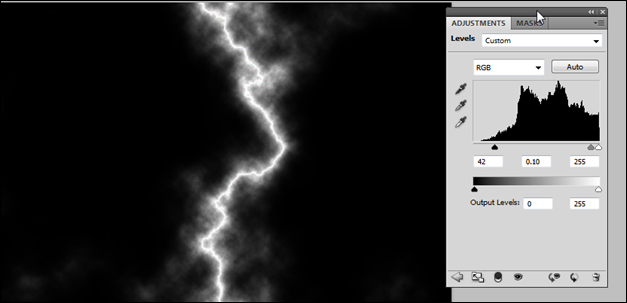
7. Add a new Adjustment layer with levels. You could also apply the levels directly but an adjustment layer is better because it allows you to adjust the levels later if necessary
8. Adjust the levels to increase the intensity of the lightning
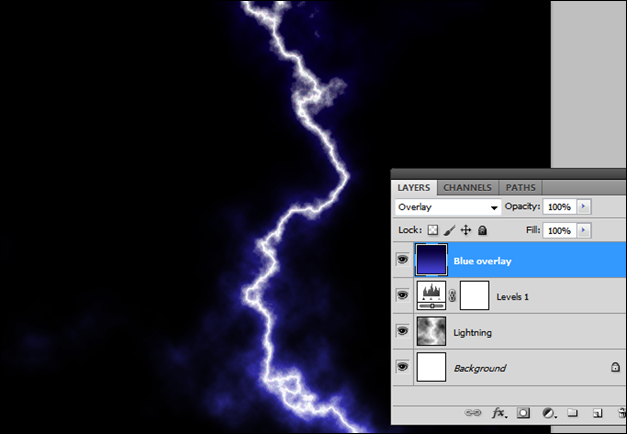
Now that you have lighting, let's make it more interesting by adding color.
9. Create a new layer and paint it with a blue gradient

10. Set the blending mode to overlay
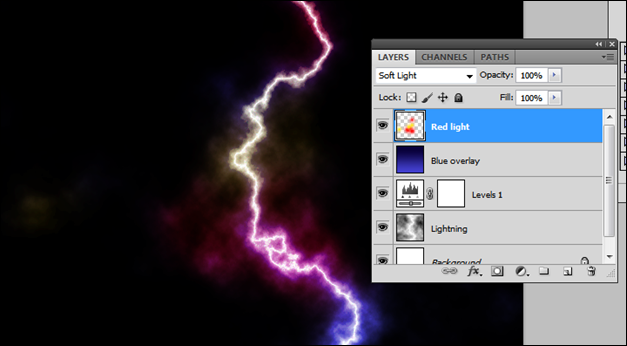
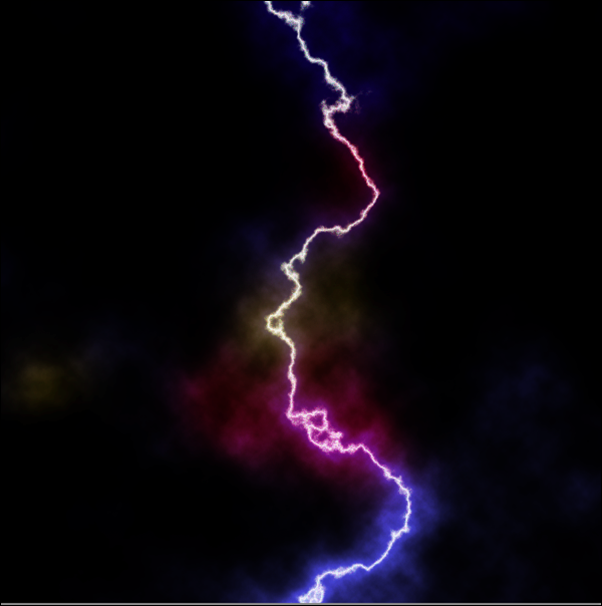
11. Create another layer and call it Red Light. Then set the layer blending mode to soft light. Select a soft, big round brush and paint some lights with a red, yellow and/or a violet color
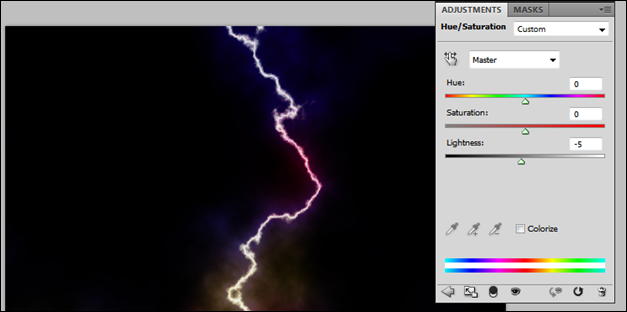
12. If you want to intensify the lightning even further add Curves and Hue/Saturation adjustment layers. Set the Curves first. Individual settings will vary depending on your image brightness, etc.

Then adjust the Lightning a little with the Hue/Saturation layer
And here's finished lightning in Photoshop. If you want to use this in your own composition, flatten the layers, bring it into your photo, set the layer blending mode to screen and transform it as necessary.
Back to Top