
Quick editing of Photos
If you are doing the class demonstration for this assignment, be sure download The clouds image and Quinn's bunny image.
1. Start Photoshop and click "open", then route the "Open" dialog box to where you saved your images.
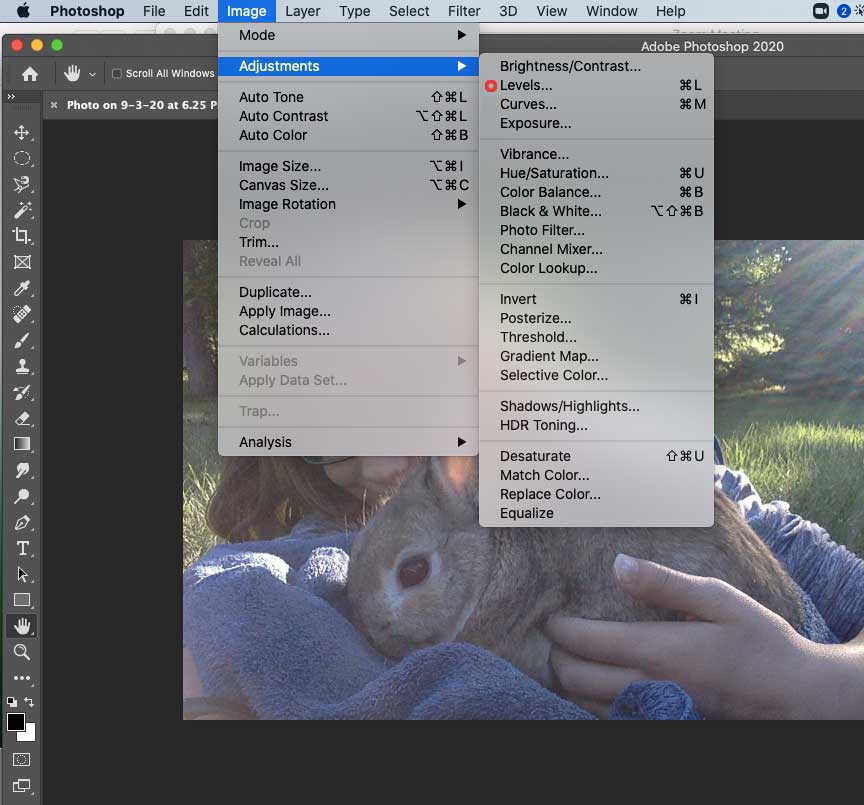
2. With the image open, select "Image>Adjustments>Levels"
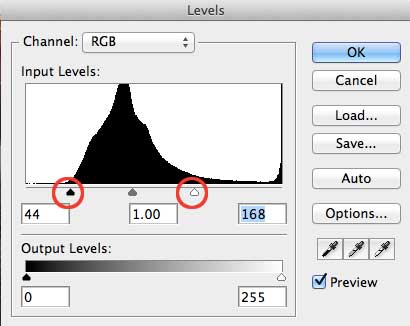
3. In the dialog box that comes up, drag the left and right triangles at the bottom of the histogram to where the graph starts spiking up, then hit okay.
4. Save your image with a different name so you don't overwrite the original.
Another way to edit images is by using the Curves adjustment.
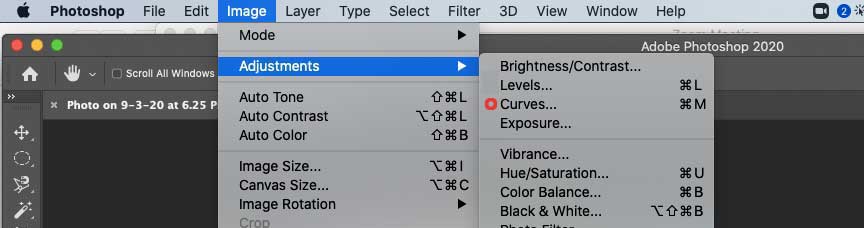
1. With the image open, select "Image>Adjustments>Curves"Another way to edit photos is by using an Adjustment Layer.
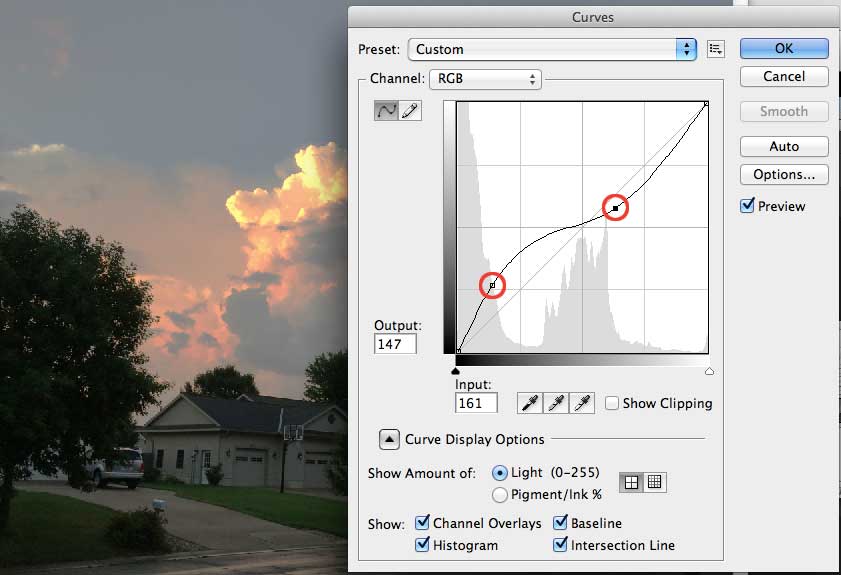
2. In the curves dialog box, notice where the histogram graph spikes. Click on the diagonal line just above the left spike and pull it down or up. Then do the same on the right side. (see image below)
3. Save your image with a different name so you don't overwrite the original.
Back to top
This type of adjustment or edit is called, "non destructive" because it doesn't alter the original photo file, it just adds something to it.
Click here to view the video tutorial on how to use adjustment layers.
Or Click here for a downloadable version.