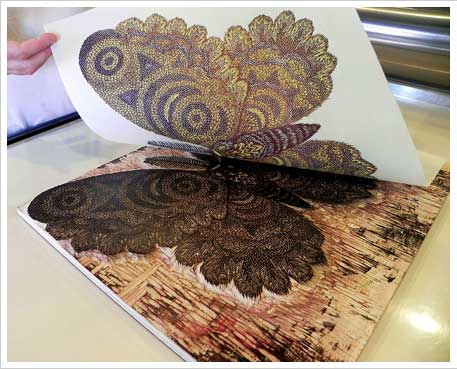
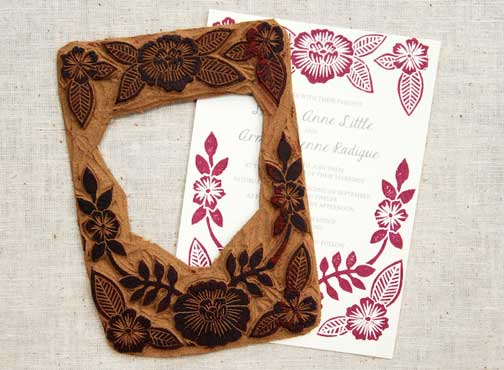
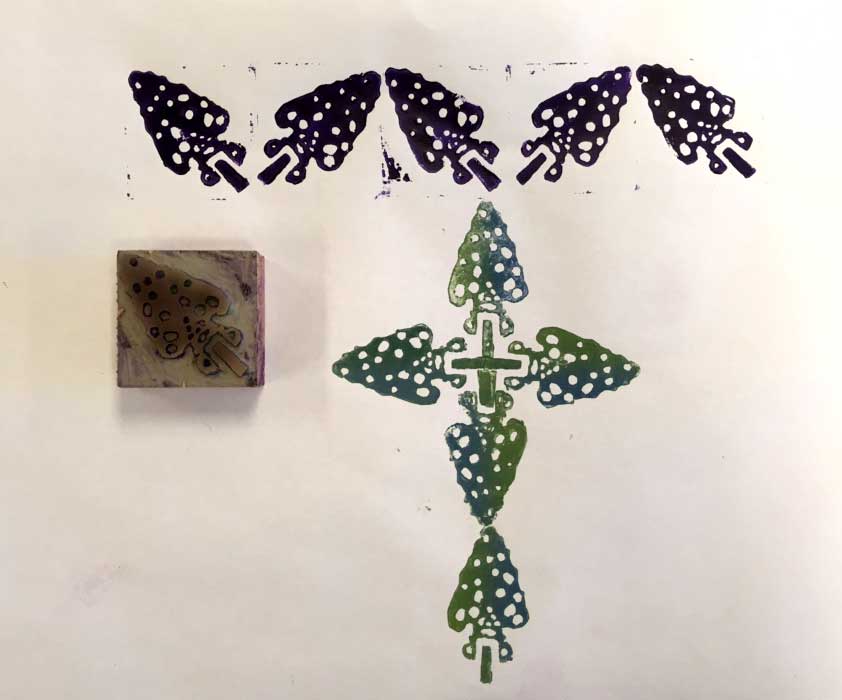
Because any image made on a block is reversed when printed on paper, the teacher demonstrates how to design a woodblock print on vellum so that it can be reversed easily by flipping the paper over. We use carbon paper to transfer our design onto the block.
Students can darken the design if necessary with a pencil before carving. The teacher demonstrates how to use carving tools. Safety is of vital importance. Always cut away from your fingers and hands.
Students use a brayer to roll out ink on a plate and transfer it to their block for printing. Depending on the size of the print, we may use the art room's clay slab roller as a printing press. Otherwise the paper is simply burnished with a spoon onto the block.


Evaluation:
2 points -- Quality and interest of the design
4 points -- Quality of the woodcut
2 points -- 5 or more single-color prints made
2 points -- 5 or more two-color prints are made
10 points total
Local vid
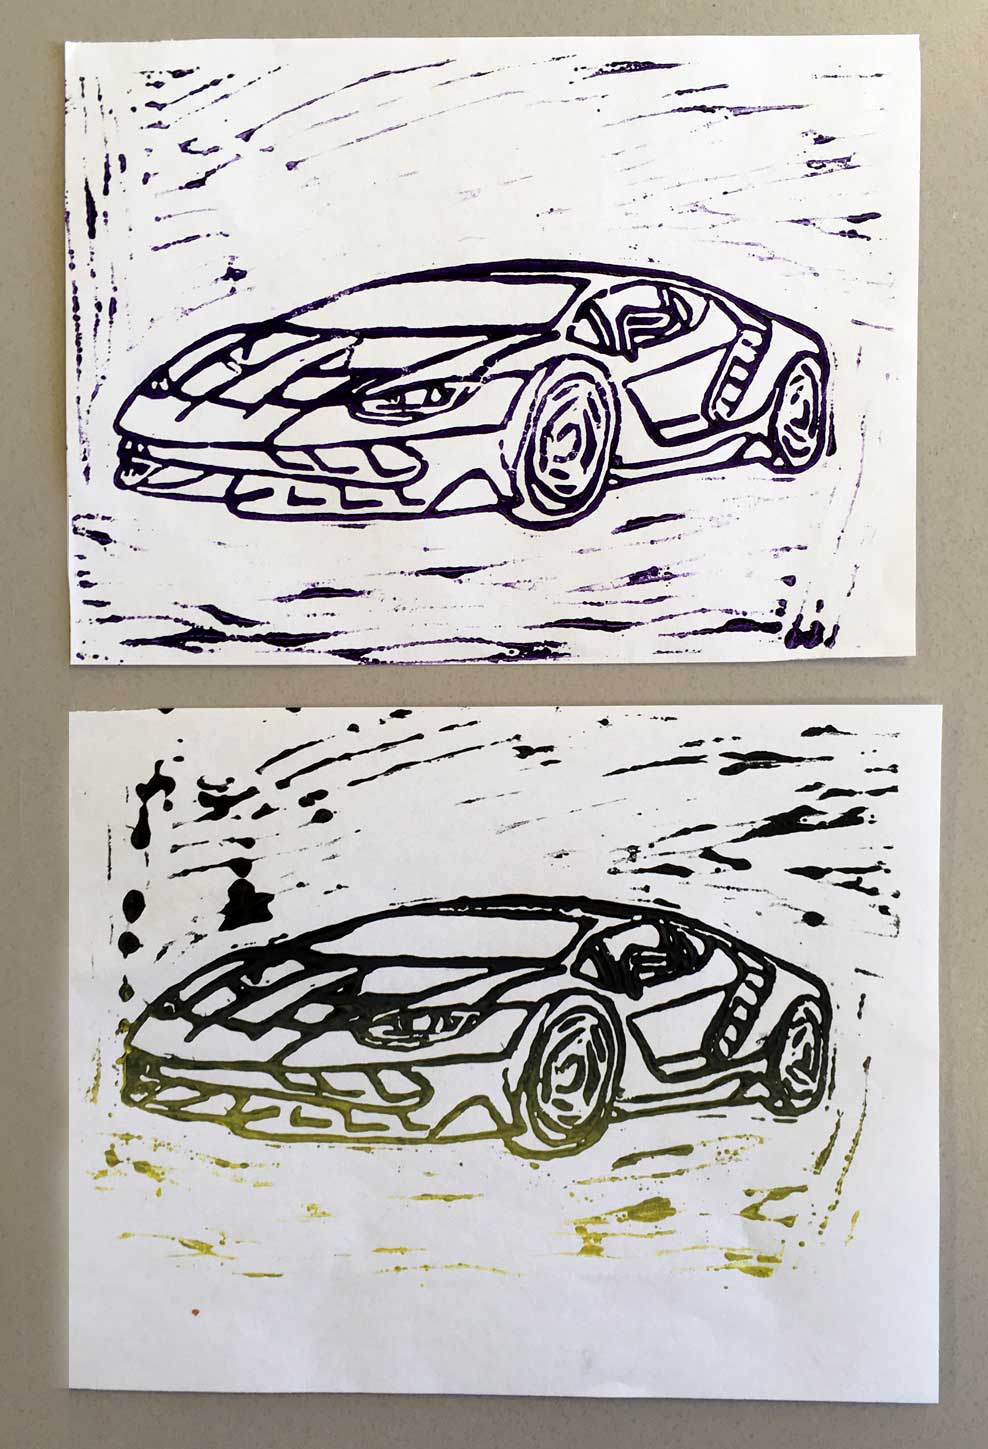
Simon M.'s linoleum-cut print below.

Michael D.'s linoleum-cut print below.


