(Local vid.)
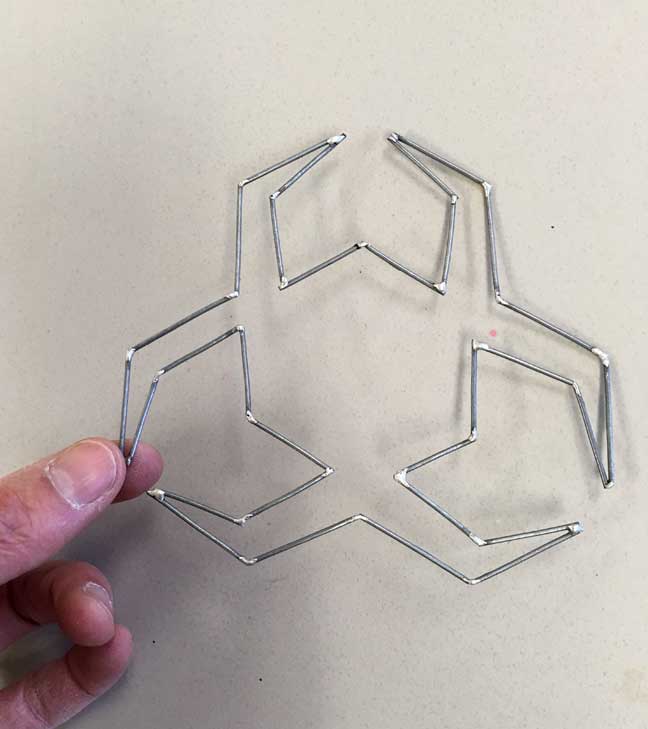
The teacher demonstrates our Soldering irons and guns, showing students how to properly solder wires together. Pliers are used as a heat sink if soldering close to another solder joint.
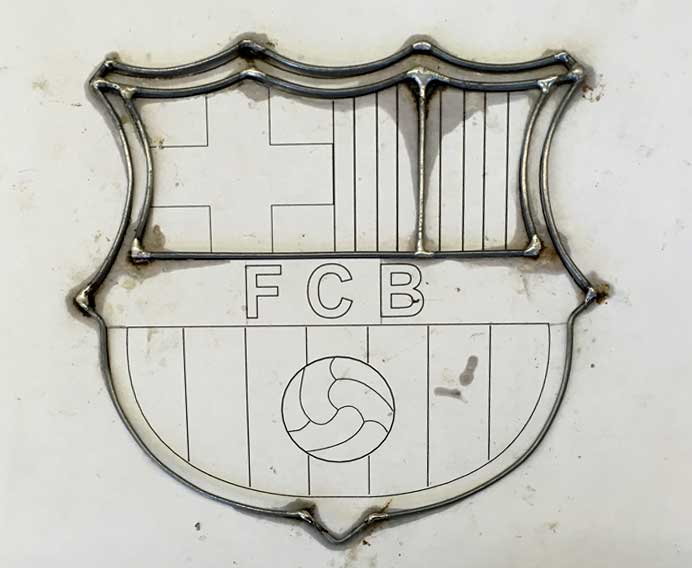
Students are to find an image they like, import it into Illustrator and trace lines around and in it to represent where they will put wire. (example here) Each wire part must be connected to another in some way. Sports logos are good subjects for this project as well as religious icons.
After the image is printed, students cut and bend wire parts to fit the image and solder them together. When finished the images may be mounted to a wood background.

Above by Roman Kulzer for Mary Kulzer's 19th birthday, 12/3/1964.

David's unfinished example above. Note how the lines are being followed precisely .
Evaluation:
3 points -- Complexity of chosen image and good use of Illustrator lines
4 points -- Good solder joints
2 points -- Quality and workmanship of the finished wire project.
1 points -- Hangable or able to stand on its own
10 points total
An additional 10 points will be given if the student attaches the wire to a wood background. Points for quality of the wood cut-out, Hangable, Final stain and finish of the piece.


