The teacher hands out study guides and demonstrates the proper use of power tools used in this project: Table Saw, Planer, and Mitre Saw.
After the demonstration and reading the study guides, students must pass a written safety test for each power tool before starting their project.
The teacher will demonstrate each step in the process:
Each student will make their own cutting board but for the first part of gluing the boards together and planing they need to work with a partner. After planing we'll cut the boards to size and they each will be able to work on their individual pieces.
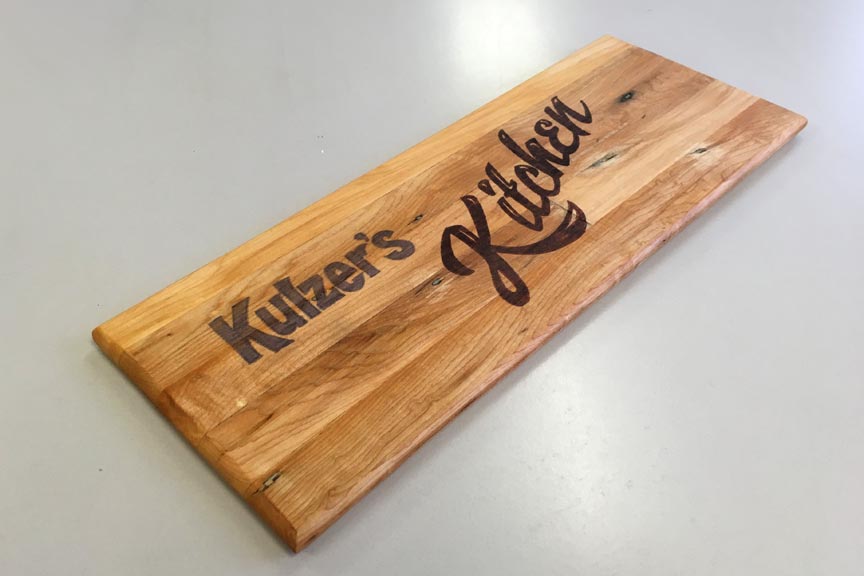
After the edges are routered and hand-sanded to a smooth finish, students may draw a design on the boards with pencil and color it with sharpie or a wood burner, after which mineral oil is wiped over them. The next day any excess oil can be wiped off and boards are ready to be used.

Evaluation:
2 points -- Wood cleaned/pre-sanded and cut properly
2 points -- Nicely glued strips
3 points -- Routered edge, Sanded smooth
3 points -- Final design, stain, finish
10 points total

