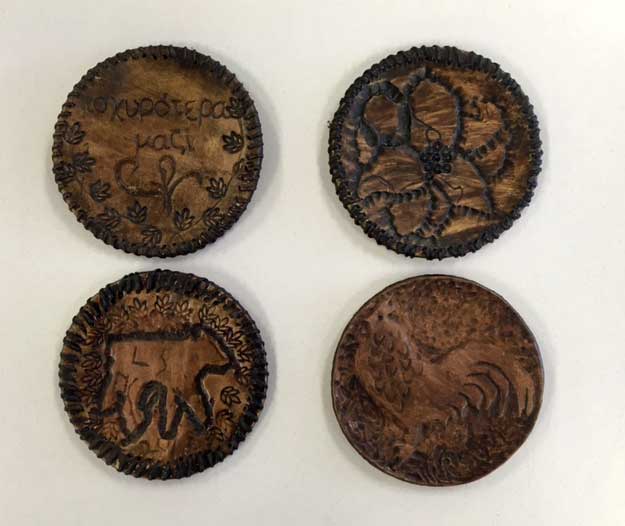
First, students are given a small piece of clay to experiment with the leather tooling dies. One day is taken to impress different dies into the clay so they have a better idea of how to design a pleasing pattern or layout. (day one)
Next, students are shown how to tool leather and are given a small practice scrap to work with. Leather working videos that illustrate leather tooling are also shown. And small pieces of vellum are given to students so they can work out a good design on paper to be transferred to the clay. (day two)
Finally students are given the round leather blank that they can work with. Students are shown how to transfer their design onto the clay using a stylus or dull pencil and carbon paper. After the design is put on the blank, students use leather tooling dies to impress their design into the leather. At the end, a stain finish is painted on to seal the leather. (day 3)
Evaluation:
2 points -- Design that incorporates a drawn or traced part
3 points -- Nicely indented/embossed parts
3 points -- Holes stamped and laced nicely.
2 points -- Final stain and finish.
10 Points total

