
Importing Images to Quicktime and iMovie
Open Quicktime from the Applications folder.

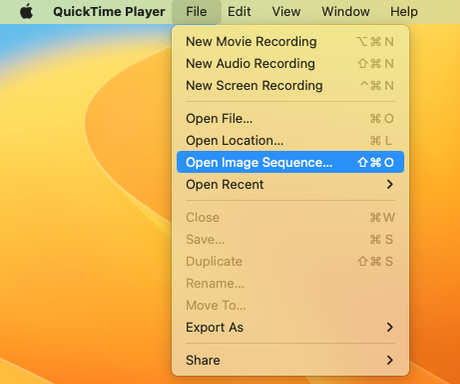
Under "File", select "Open Image Sequence".
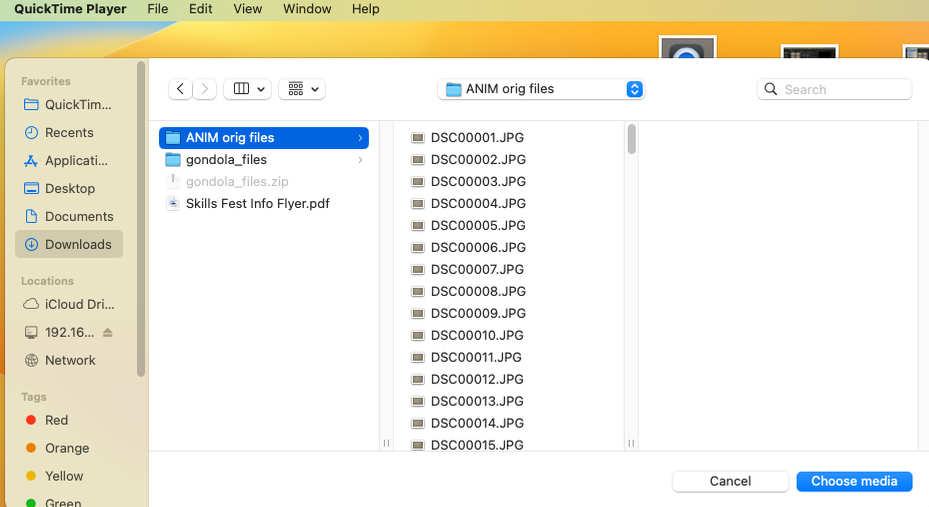
In the window that pops up, navigate to the folder with your images, select it and click "Choose Media".
Use the following settings in the next window.
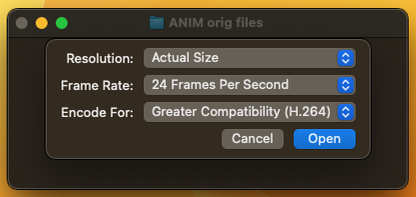
You should have a video file that you can play to test your animation.
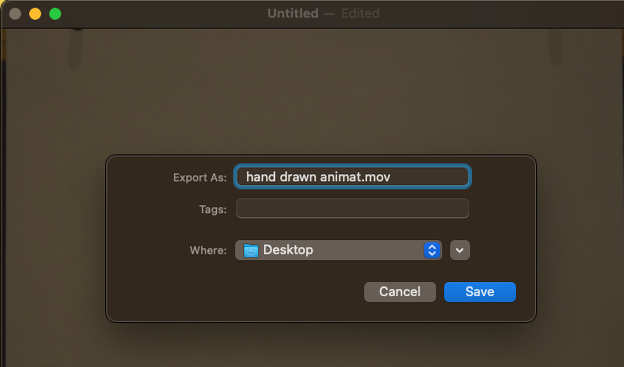
Next, save the video file by selecting "Save" under the File menu. Title it with your name and be sure to note where you're saving it. (The file below will be saved to the desktop.)
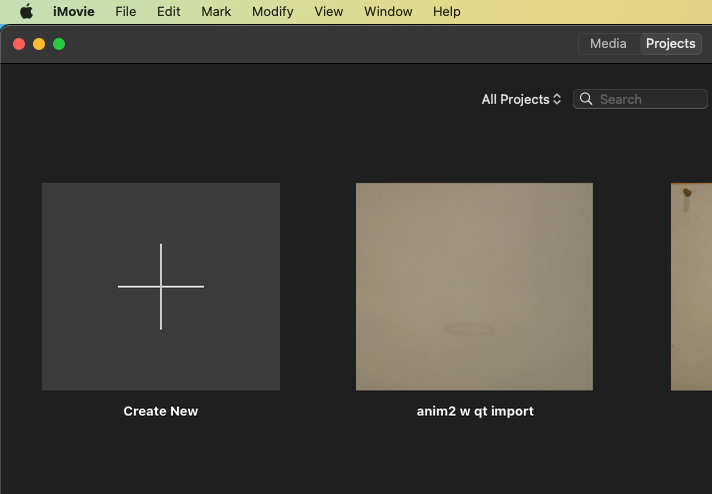
Next, navigate to the Applications folder and start iMovie.

Click the box with a Plus in it to create a new project.
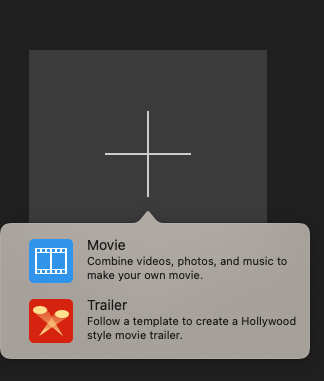
Select "Movie" in the next box.
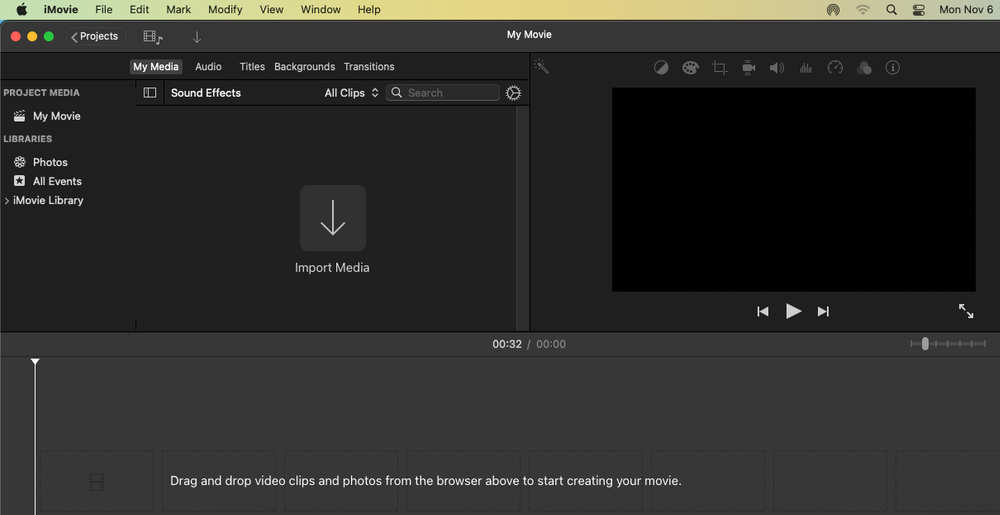
With the project window open, click "Import Media".
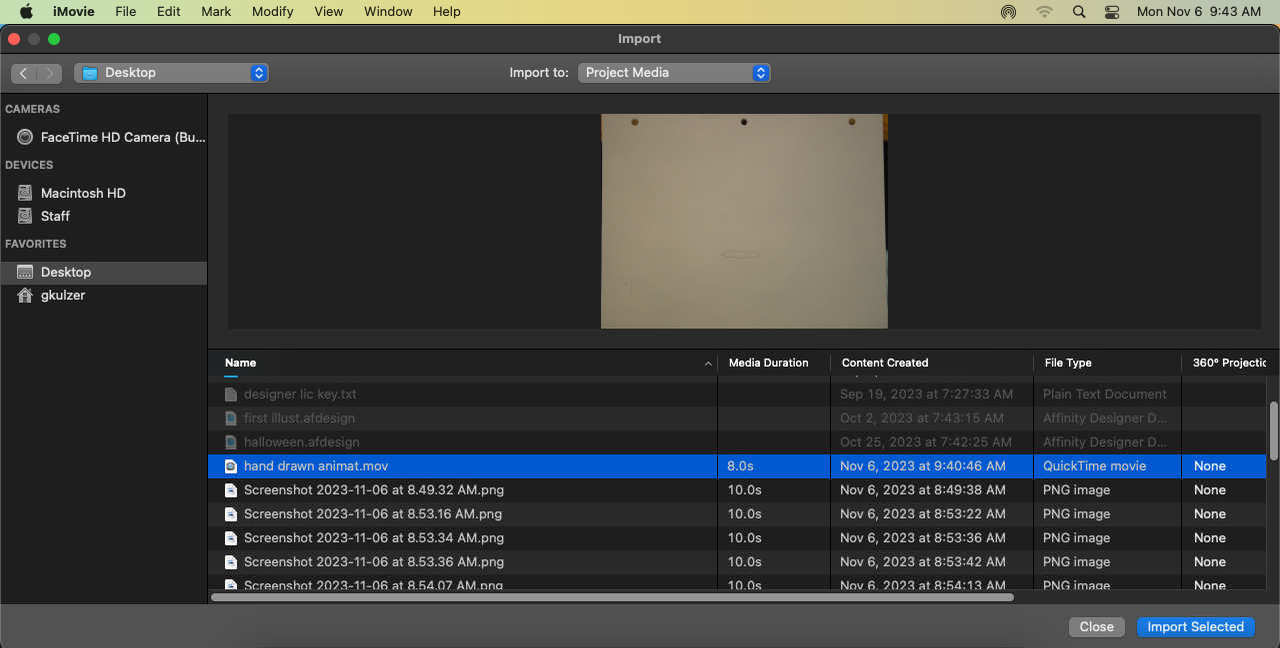
Navigate to where you saved the Quicktime movie and select it then click the "Import Selected" button.
Now you'll see your video in the projects pane. From here you can drag it onto the timeline.
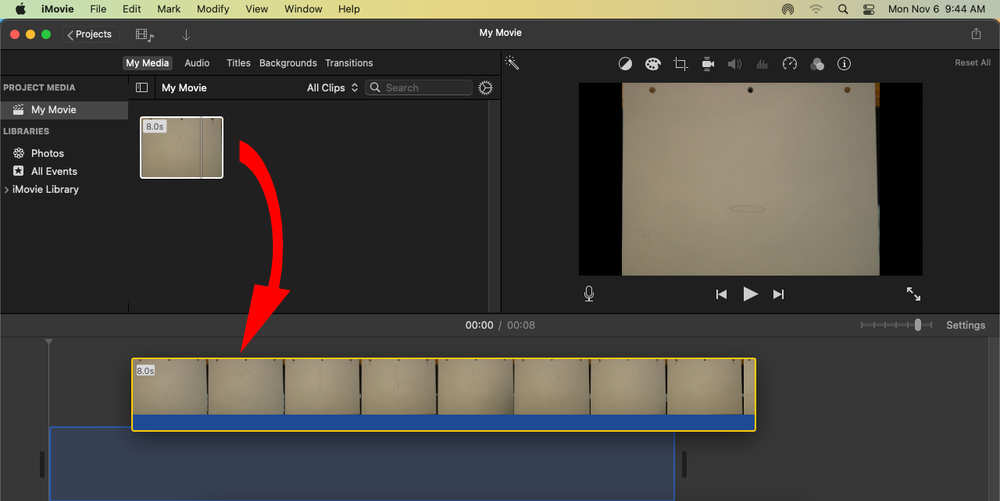
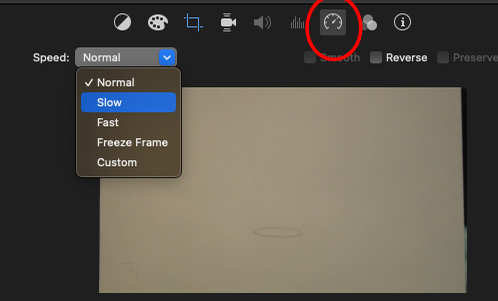
Next, click the Speed icon and select "Slow" from the speed option drop down.
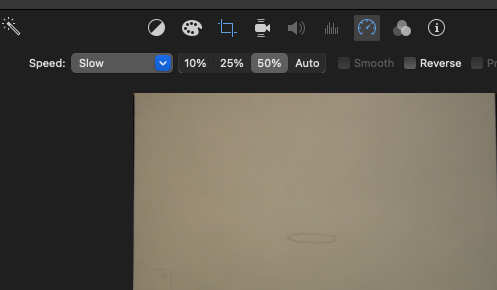
Try 50% and play your animation through to see if it looks good. Try a different speed if you don't like it at 50%.
From here you can select the video on the timeline, copy and paste it as many times as you want and add sound effects, etc.
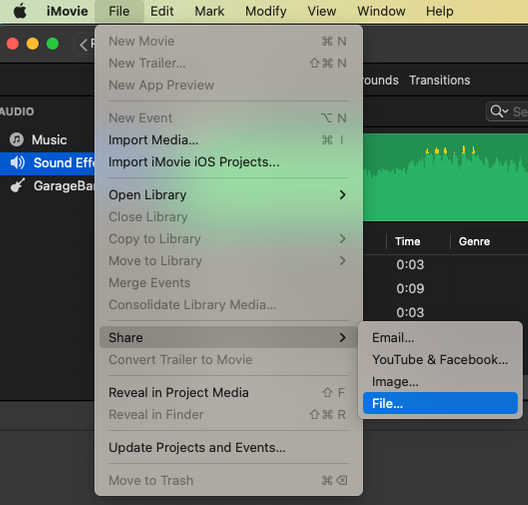
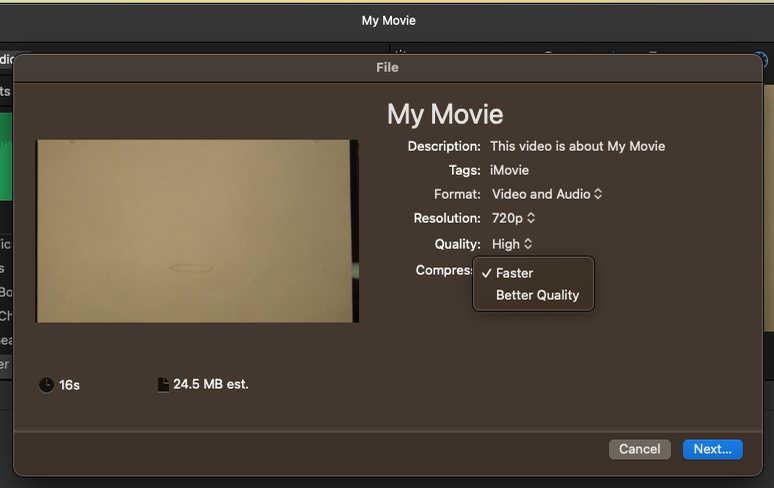
Share the video as a movie file for grading.
In the next box that pops up, you can decide the resolution you'd like and if you want a faster compression or better quality.
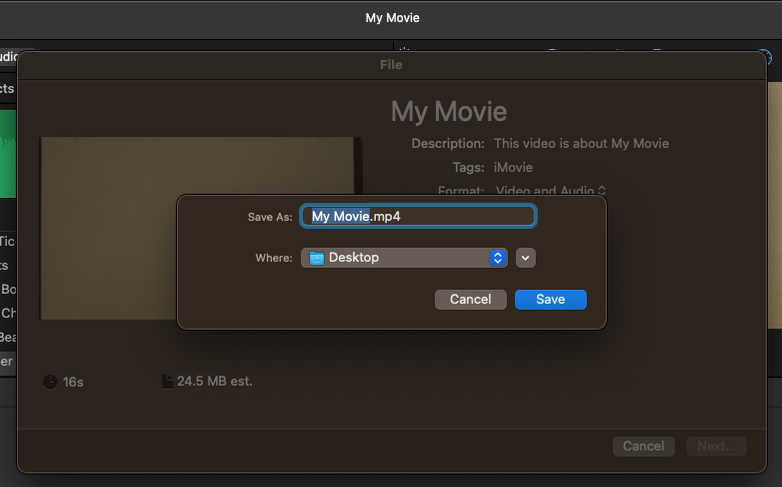
And finally choose where you're saving the file and title it.
Back to top